Setting up a home lab testbed
For today I’ll be focused on installing Debian, setting up sudo access for my user account, and configuring Docker engine.
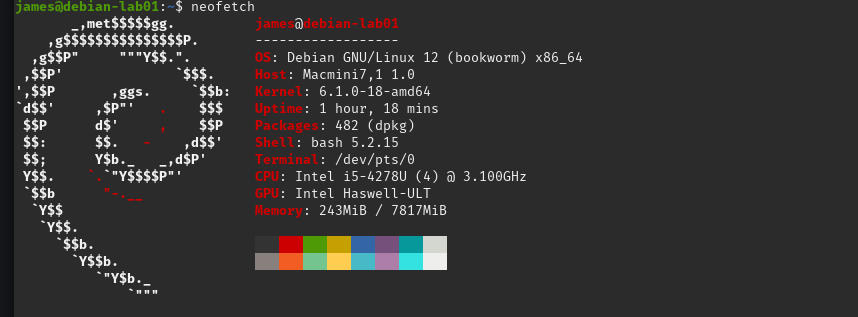
In this blog series, I’ll guide you through my journey of setting up a versatile and cost-effective computer system for future test environments. While there are numerous options to choose from, based on what performance I’ll need for future workloads, I’m pretty confident my 2012 Mac Mini that I had gathering dust will actually be a solid fit for this series.

The Mac Mini's x86_64 based architecture is an excellent choice due to its extensive software support, ensuring compatibility with the applications I plan to run. Additionally, it boasts a good enough 3.1 GHz processor and decent 8 GB RAM. Moreover, this energy-efficient setup only consumes a maximum of 85 Watts, making it an environmentally friendly choice for my home lab.
For today I’ll be focused on installing Debian, setting up sudo access for my user account, and configuring Docker engine.
Let’s get to installing Debian as a headless server on the Mac Mini. Debian Linux distribution is an excellent choice for this project due to its lean design, which runs smoothly even on older hardware like the Mac Mini.
To create a bootable USB drive with the Debian image, I’ll be using a user-friendly tool called BalenaEtcher. Here's how to do it:
- Download the latest Debian NetInstaller ISO file from the official website: https://www.debian.org/distrib/netinst
- Plug in an empty USB drive and make sure it is detected by whatever computer.
- Install and open BalenaEtcher (available for free at https://balena-etcher.io/ ).
- Click "Select image file," then choose the downloaded Debian ISO file.
- Choose your USB drive as the destination, and click "Flash."
- BalenaEtcher will now write the Debian installation files onto your USB drive. Once finished, safely remove the USB drive.
Now that I have a bootable Debian USB drive I can plug it in and install the operating system on the Mac Mini. After powering it on and pressing the Option / Alt key I’m able to get to the boot options then select the USB.
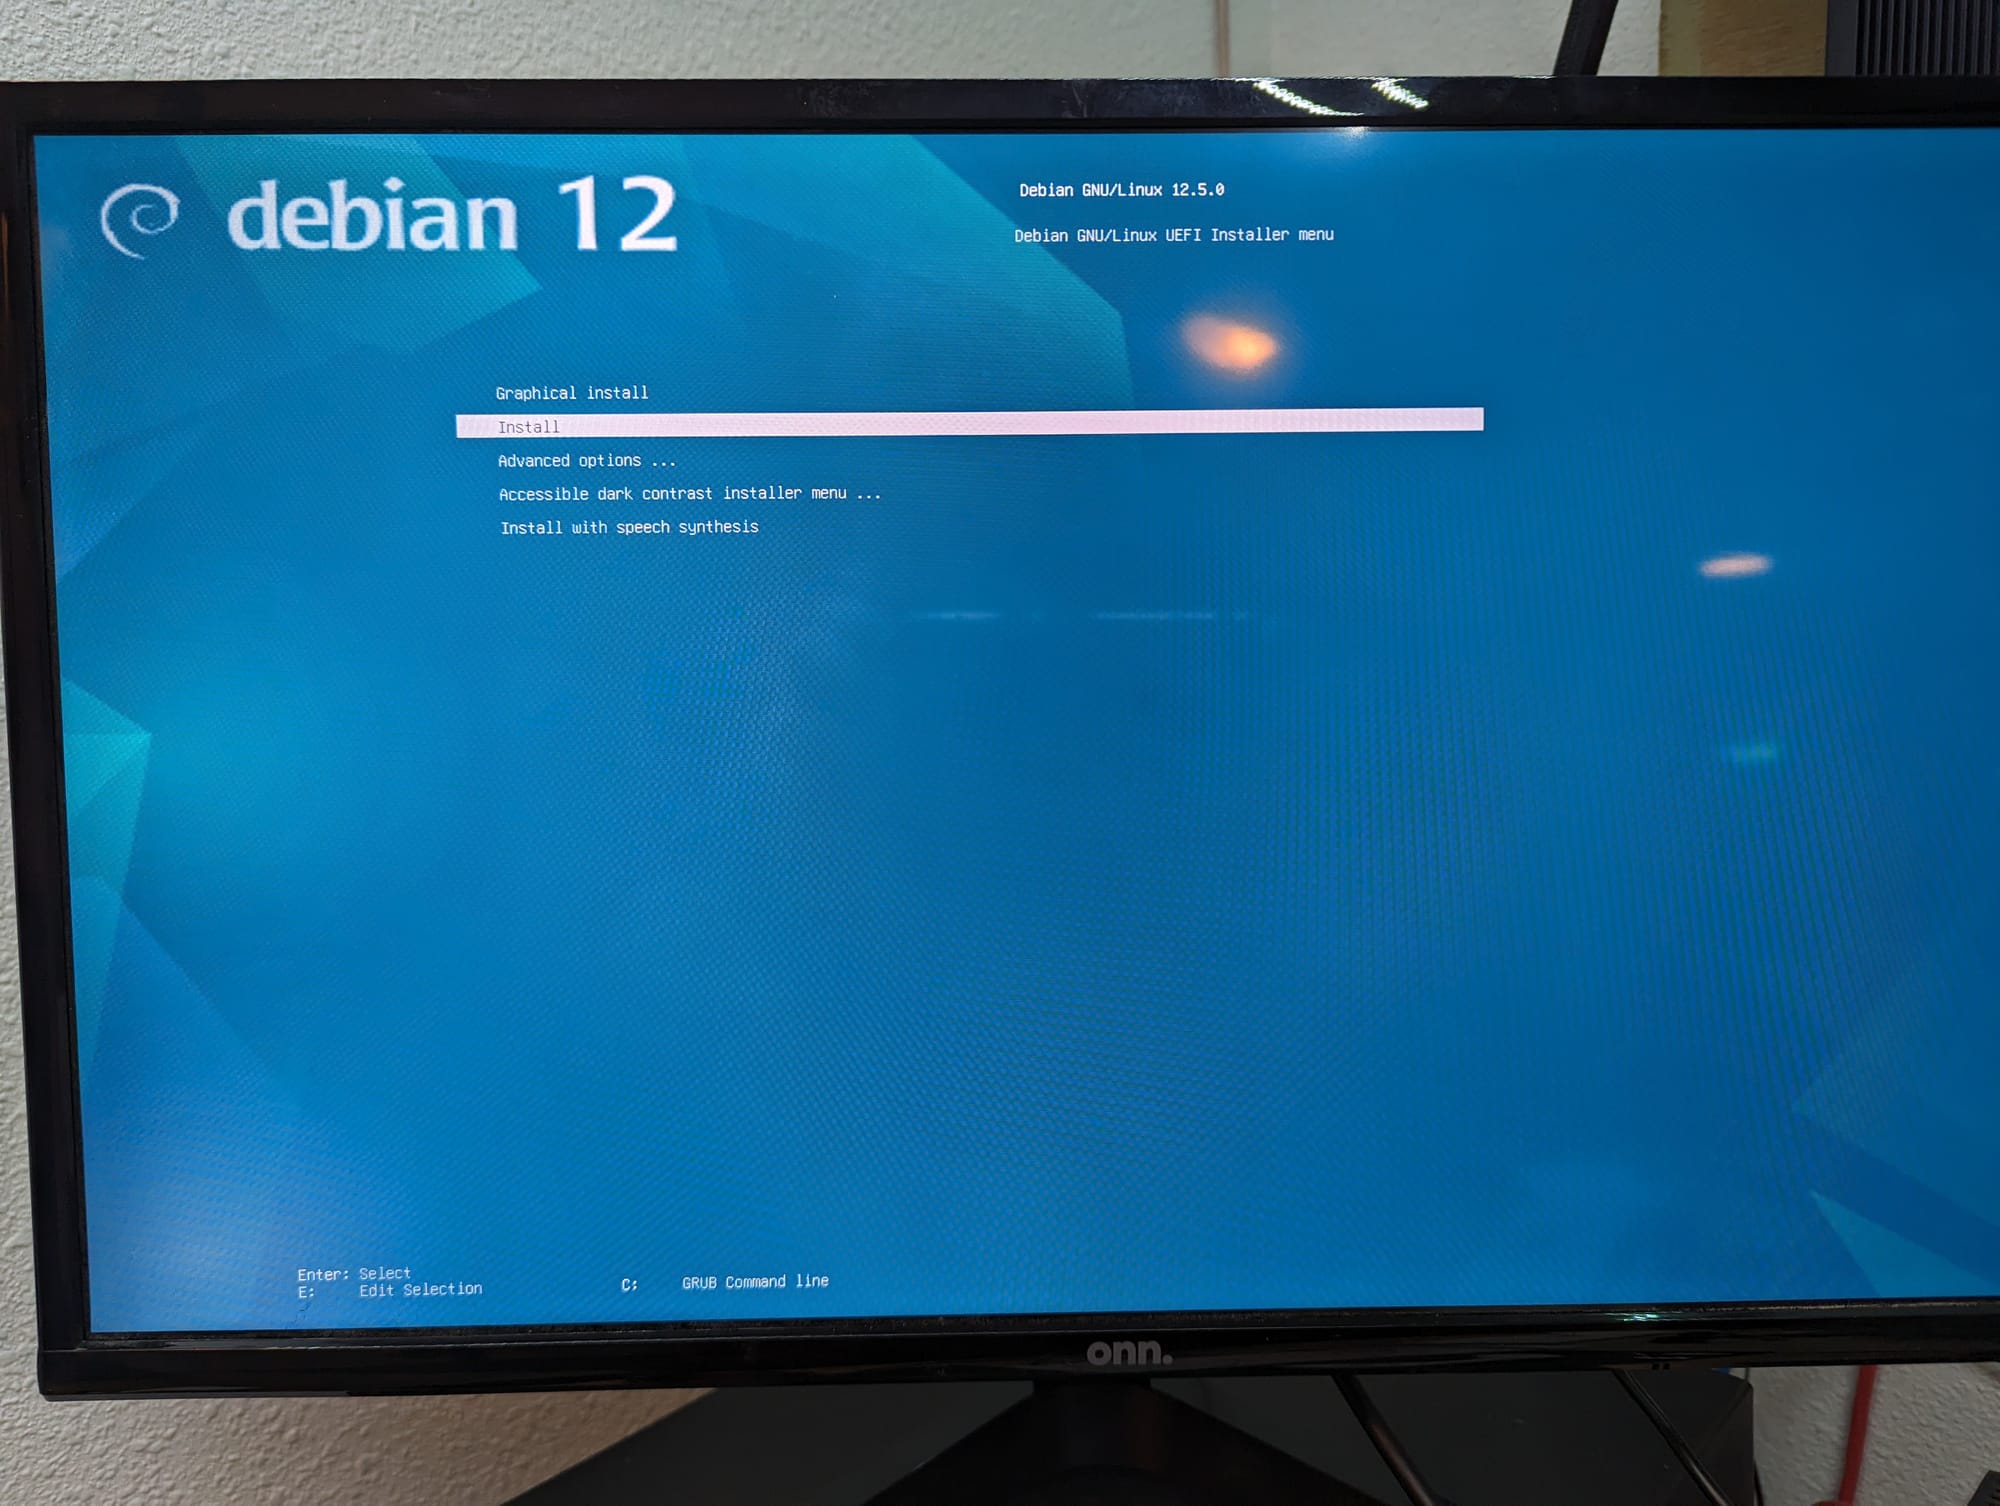
Pretty much everything went along with default options, only thing to note is that I selected to install the open-ssh server and deselected any of the GUI options.
Once rebooted to local and logging in under root I ran the commands to get sudo installed and had my user account included into the sudo group:
apt update
apt upgrade
apt install sudo
adduser james sudo
Then ran a quick "ip a" to get the address for the main network adapter so I can log in remotely:
james@debian-lab01:~$ ip a
1: lo: <LOOPBACK,UP,LOWER_UP> mtu 65536 qdisc noqueue state UNKNOWN group default qlen 1000
    link/loopback 00:00:00:00:00:00 brd 00:00:00:00:00:00
    inet 127.0.0.1/8 scope host lo
       valid_lft forever preferred_lft forever
    inet6 ::1/128 scope host noprefixroute
       valid_lft forever preferred_lft forever
2: enp3s0f0: <BROADCAST,MULTICAST,UP,LOWER_UP> mtu 1500 qdisc mq state UP group default qlen 1000
    link/ether 78:7b:8a:d7:dd:56 brd ff:ff:ff:ff:ff:ff
    inet 192.168.1.133/24 brd 192.168.1.255 scope global dynamic enp3s0f0
       valid_lft 4068sec preferred_lft 4068sec
    inet6 fe80::7a7b:8aff:fed7:dd56/64 scope link
       valid_lft forever preferred_lft forever
So far so good with all that settled I can pretty much do everything else remotely. Now to get Docker installed and configured. This is also a pretty easy going since Docker provides a easy to follow guide here: https://docs.docker.com/engine/install/debian/
For brevity sake here's the run down commands used:
sudo apt-get update
sudo apt-get install ca-certificates curl
sudo install -m 0755 -d /etc/apt/keyrings
sudo curl -fsSL https://download.docker.com/linux/debian/gpg -o /etc/apt/keyrings/docker.asc
sudo chmod a+r /etc/apt/keyrings/docker.asc
Adding the repository to Apt sources is a one liner broken into new lines using '\':
echo \
  "deb [arch=$(dpkg --print-architecture) signed-by=/etc/apt/keyrings/docker.asc] https://download.docker.com/linux/debian \
  $(. /etc/os-release && echo "$VERSION_CODENAME") stable" | \
  sudo tee /etc/apt/sources.list.d/docker.list > /dev/null
sudo apt-get update
Then install all the Docker and Docker Compose packages:
sudo apt-get install docker-ce docker-ce-cli containerd.io docker-buildx-plugin docker-compose-pluginAnd finally tested to make sure it all works:
james@debian-lab01:~$ sudo docker run hello-world
[sudo] password for james:

Hello from Docker!
This message shows that your installation appears to be working correctly.

To generate this message, Docker took the following steps:
 1. The Docker client contacted the Docker daemon.
 2. The Docker daemon pulled the "hello-world" image from the Docker Hub.
    (amd64)
 3. The Docker daemon created a new container from that image which runs the
    executable that produces the output you are currently reading.
 4. The Docker daemon streamed that output to the Docker client, which sent it
    to your terminal.

To try something more ambitious, you can run an Ubuntu container with:
 $ docker run -it ubuntu bash

Share images, automate workflows, and more with a free Docker ID:
 https://hub.docker.com/

For more examples and ideas, visit:
 https://docs.docker.com/get-started/
Afterwards I went through some post install steps outlined in https://docs.docker.com/engine/install/linux-postinstall/
Mainly adding my user account to Docker group so I can skip using sudo for every Docker command and setting up Docker to start on boot.
With all that out of the way I now have a headless Debian server running Docker that will make a great test bed for any future home lab projects!